
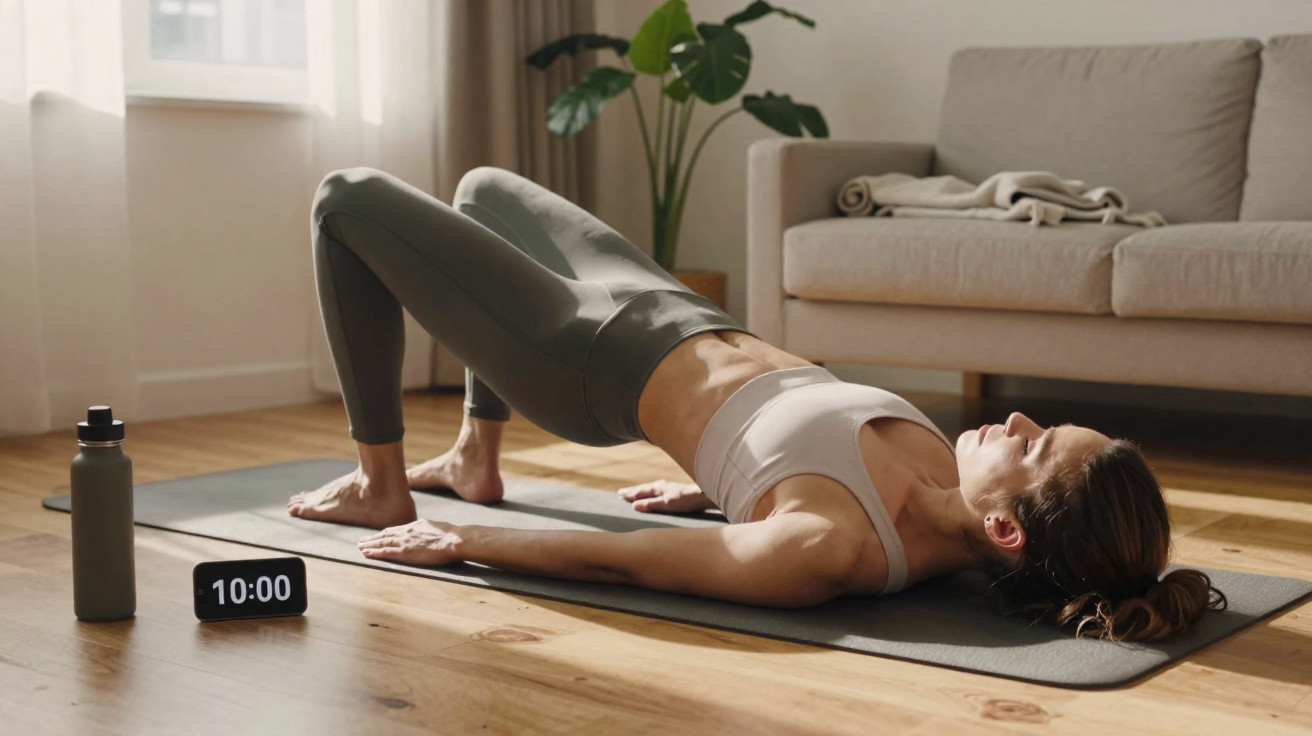
Many people diligently do sit-ups, then wonder why almost nothing changes around their lower abs. This is usually not a question of poor discipline, but of choosing the wrong exercise approach. This short Pilates-inspired routine targets the areas conventional crunches often miss: the deep lower abdominal muscles and the stabilising core.
Why lower abs are so difficult to target
The area below the navel is anatomically and functionally demanding. It is where the deep abdominal muscles, hip flexors and pelvic floor come together. Training only the upper section of the rectus abdominis leaves the lower abs soft, regardless of how many sit-ups you complete.
“Focused, unhurried movements that stabilise the lumbar spine and engage the deep muscles usually achieve more than a hundred frantic crunches.”
This training plan relies on small, controlled movements. Muscle tension and technique take priority over speed. That also makes it well suited to a living-room workout: there is no jumping, no noise and very little space is required.
How the 10-minute workout is structured
The routine includes ten exercises for the lower abs and deep core muscles. Perform each exercise for 45 seconds, followed by a 15-second rest. Beginners can shorten the working intervals and allow themselves longer rests.
- 45 seconds of work – calm, precise movement
- 15 seconds of rest – take a brief breath and change position
- 10 exercises in total – around 10 minutes of pure exercise time
The sequence follows familiar Pilates principles: a stable core, flowing breathing and controlled movement.
The 10 key lower abs exercises
1. Lowering bent legs while lying on your back
Lie on your back with your feet together and knees opened outwards. Keep your lumbar spine firmly pressed into the mat. Slowly lower your bent legs, then bring them back up. Your lower abs should remain under tension throughout.
2. Straighten the legs and lift the hips
Still lying on your back, alternate between holding your long, straight legs just above the floor and gently lifting your hips towards the ceiling. Avoid momentum and jerky actions: the movement should be powered by your abs and glutes.
3. Lower and extend one leg with a firm core
From a supine position, extend one leg upwards and lower it in a controlled way towards the floor. Keep your abs braced and your lower back pressed to the mat. Repeat on the other side.
4. Seated upper-body rocking movement
Sit with your legs drawn in, lean your torso back slightly and hold a semi-reclined position. From there, make very small pulses forwards and backwards. Keep your shoulders down, gently draw your shoulder blades together and strongly engage your abs.
5. Lean back and open the legs
From the seated position, recline further and extend both legs into a slight straddle. Try to put as little pressure as possible through your heels into the floor. Your abs provide stability while your torso and legs hold the position.
6. Large vertical scissor kicks on your forearms
Support your upper body on your forearms and extend your legs fully. Make large scissor movements up and down. Keep your back straight, your neck long and your heels hovering just above the floor.
7. Open the legs at a 45-degree angle
Remain supported on your forearms, extend both legs forwards at roughly a 45-degree angle, then open and close your thighs. Keep the lumbar spine steady and the upper body as still as possible.
8. Alternating leg extensions just above the floor
Return to lying on your back, with your head and shoulder girdle slightly raised and your gaze upwards. Alternately extend one leg forwards, keeping it just above the floor. Choose the easier variation with a gently bent leg, or the more demanding option with the knee fully straight.
9. Alternate hip lifts with leg lowering
With your legs bent and raised, lift your hips slightly off the mat, then lower your legs a little again. Control every centimetre: do not swing or “fling” your legs.
10. Horizontal scissor kicks with leg lowering
To finish, combine horizontal scissor movements with slowly lowering your legs. Keep your lumbar spine firmly connected to the mat at all times – this is your safety anchor.
How to get the most from 10 minutes
The results come from tension, not speed. Working too quickly means losing control of your back and hips – precisely the areas these exercises are meant to engage.
“Slow does not mean boring in this workout; it means effective. Every second spent under tension counts twice.”
A few straightforward rules make all the difference:
- Keep movements smooth and free from jerking.
- Breathe out during effort and breathe in as you release.
- Never hold your breath – it only raises blood pressure.
- Keep your lumbar spine stable and avoid arching your lower back.
- Prefer a smaller range of motion performed with sound technique.
Three sessions a week are ideal, with a rest day between each one. Beginners can start with 30 seconds of work and 30 seconds of rest, then gradually build up to the full 45/15 intervals.
Why this training alone will not “melt away” belly fat
Belly fat can be stubborn, and so can the myth that targeted exercises can burn it from one specific area of the body. That is not how it works. Your body determines where it draws on fat stores first.
The benefits of this programme lie elsewhere:
- the lower abdominal muscles become stronger
- the waist appears more defined as body-fat percentage falls
- the core provides better stability in daily life and sport
- the back and hips are relieved of strain
Anyone seeking visibly defined abdominal muscles also needs a moderate calorie deficit and regular cardio, such as brisk walking, cycling, running or swimming. It is the combination of nutrition, endurance training and focused strength work that reveals the shape of the muscles.
Common mistakes and how to avoid them
Many people make a lower abs workout unnecessarily difficult – and may even risk pain. Three common pitfalls appear time and again:
- Too much speed: Rushing turns the movement into momentum. The hips shoot upwards, the back arches and the abs lose tension.
- An arched lower back when lying down: As soon as the lower back lifts from the mat, the lumbar spine takes over. Instead, hold your legs slightly higher and reduce the range of movement.
- A tense neck: Pulling your head up using the neck muscles quickly causes neck strain. The solution is to look diagonally upwards, move your shoulders away from your ears and keep your neck long.
What this focus on the core can also do
The deep core – including the lower abs, obliques, pelvic floor and small muscles around the spine – does far more than simply help you “look good”. It stabilises every everyday movement, from tying your shoes to lifting a shopping bag.
People who train this area regularly often notice additional benefits: more upright posture, less pulling in the lower back and greater control in sports such as running, tennis or dancing. This is particularly useful for office-based sedentary work, as the spine no longer has to bear every load alone.
How to combine the workout effectively
For a well-rounded home programme, the 10-minute lower abs plan can easily be expanded. Two or three additions work particularly well:
- begin with brief hip and spinal mobility work, such as cat-cow, pelvic tilts and hip circles
- follow it with a few minutes of easy cardio, including stair climbing, moderate-paced jumping jacks or a brisk walk
- on other days, do a workout for your back, glutes and legs to strengthen the body evenly
If you notice a particular term appearing repeatedly, “core” essentially refers to this central area of the body: the interaction between the abs, back, hips and pelvic floor. A stable core acts like an internal belt that supports every movement.
Ten focused minutes can already strengthen this belt considerably. Consistency, clean technique and the willingness to move slowly rather than chasing explosive speed are what matter. That is what makes the difference – not the number of repetitions.


Comments
No comments yet. Be the first to comment!
Leave a Comment