
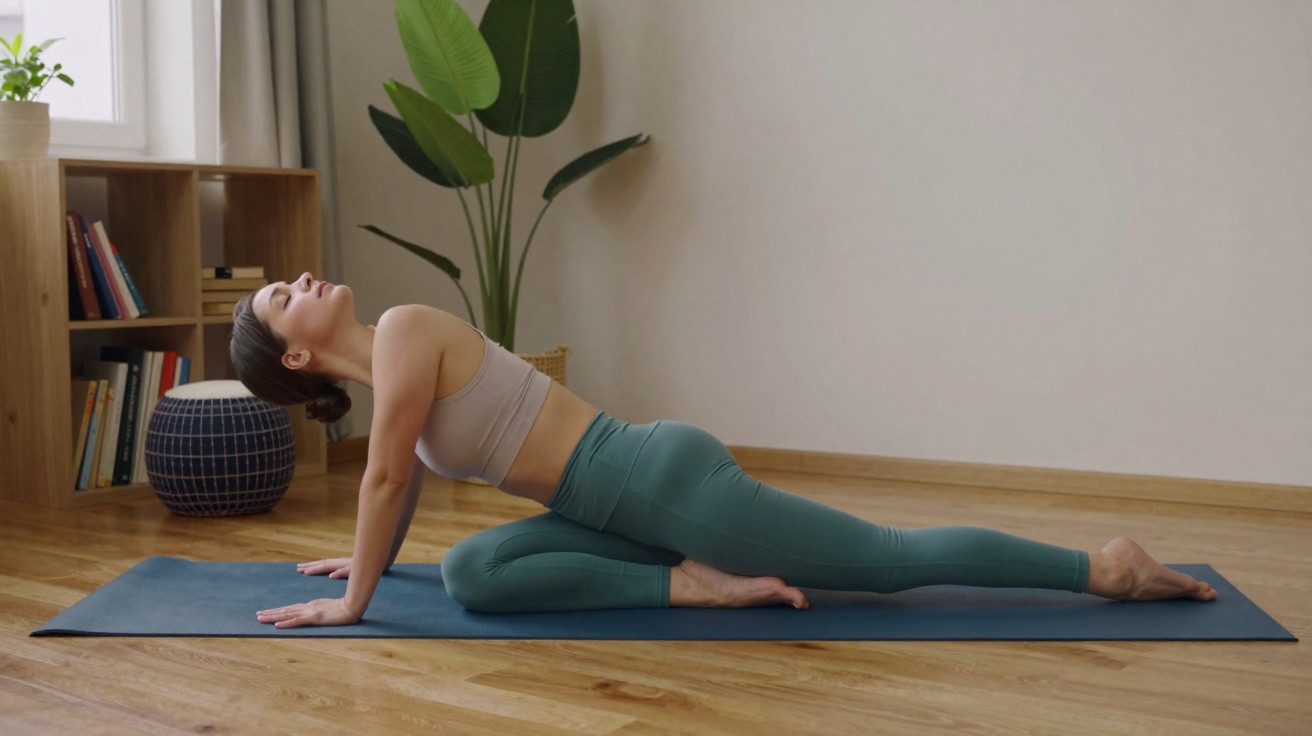
The first moment you notice your hips are genuinely tight is seldom in a yoga class. More often, it happens somewhere unforgiving: when you are trying to rise from the floor after playing with a child, or readjusting in your desk chair for the 30th time in an hour as your lower back starts protesting. Your body can feel strangely restricted, as though your pelvis is a stiff hinge that simply will not open.
You promise yourself you will stretch “later”. But later never arrives. Gradually, the stiffness becomes your baseline, until you attempt to step over a short wall or sit cross-legged on a picnic rug and your hips deliver an unambiguous answer: no.
Could 14 straightforward yoga poses begin to change that?
Why your hips can feel older than you are
Spend one day paying attention to how frequently your hips truly move. This means more than walking to the fridge; consider genuine movement such as deep flexion, rotation and shifting from side to side. For plenty of adults, the honest answer is: hardly ever. We move from a chair to a car seat, then to the sofa. Our hips remain at a 90-degree angle as if it were their fixed residence.
Yet we ask them to perform immediately when we run, squat, dance or sleep in an unfamiliar bed while away. It is hardly surprising that they object. The muscles surrounding the joint - the hip flexors, glutes and deep rotators - become tight to guard an area that is not moving. As they tighten, the hips feel increasingly restricted. It is a cycle that gradually reduces your range of motion before you even register it.
Speak to any yoga teacher about tight hips and the same picture emerges: an entire class becoming still when Pigeon pose arrives. Some people hover five centimetres above the mat, wincing. Others bend forwards and unexpectedly experience a surge of emotion they cannot account for. Evidence supports the concern, too. Physiotherapists identify hip-mobility problems as one of the most frequent factors in lower-back pain and running injuries.
A small 2020 study involving adults in sedentary jobs found that eight weeks of hip-focused stretching improved walking speed as well as balance. That is more than simply “feeling better”; it changes how you move through daily life. Tight hips are not solely a flexibility issue. They are a functional one.
The simple reality is this: hips do not merely become stiff; they can become fearful, too. When your body does not trust a particular range of motion, it limits it through tension. This is why forcing a stretch is rarely effective. Yoga provides another approach: supported opportunities to explore more space, while breathing acts as an internal cue of safety. More open hips can reduce strain on the spine, add power to your stride and help you stand and sit with greater stability. Put simply, mobility is not only about reaching your toes. It is about the way you live in your body.
14 yoga poses to gently open tight hips
Begin with the understated essentials: low lunge (Anjaneyasana) and runner’s lunge. From kneeling, step your right foot forwards with the knee positioned above the ankle, then move your left knee back until you can feel the stretch at the front of the hip. Place your hands on blocks or the floor and keep your chest relaxed. Direct your breath into the fold where your thigh meets your pelvis.
Spend 5–10 slow breaths on each side. Next, practise runner’s lunge with the rear knee raised and the heel pressing backwards, which engages both the hip flexors and hamstrings. You are not aiming for the splits. Instead, you are carefully reminding your hips that they can extend again after years spent folded into a chair-shaped position.
Then introduce the familiar poses: Pigeon, Lizard, Butterfly and Figure Four on your back. These target the outer hips and deep rotators, which can feel like a taut band around the joint. Most of us know the moment of lowering into Pigeon only for the body to reply, “Absolutely not.” That is when you place a cushion beneath the hip, ease back by a little and remain there. That counts as yoga as well.
For Lizard, take your foot to the outside of your hand in a low lunge, lower the back knee if preferred and allow the hips to descend slightly. In Butterfly, sit with the soles of your feet together, let the knees fall outward and lengthen through the spine. Allow gravity rather than ego to take the lead. Honestly, hardly anyone manages this every day. Even so, practising twice weekly can start to make a difference.
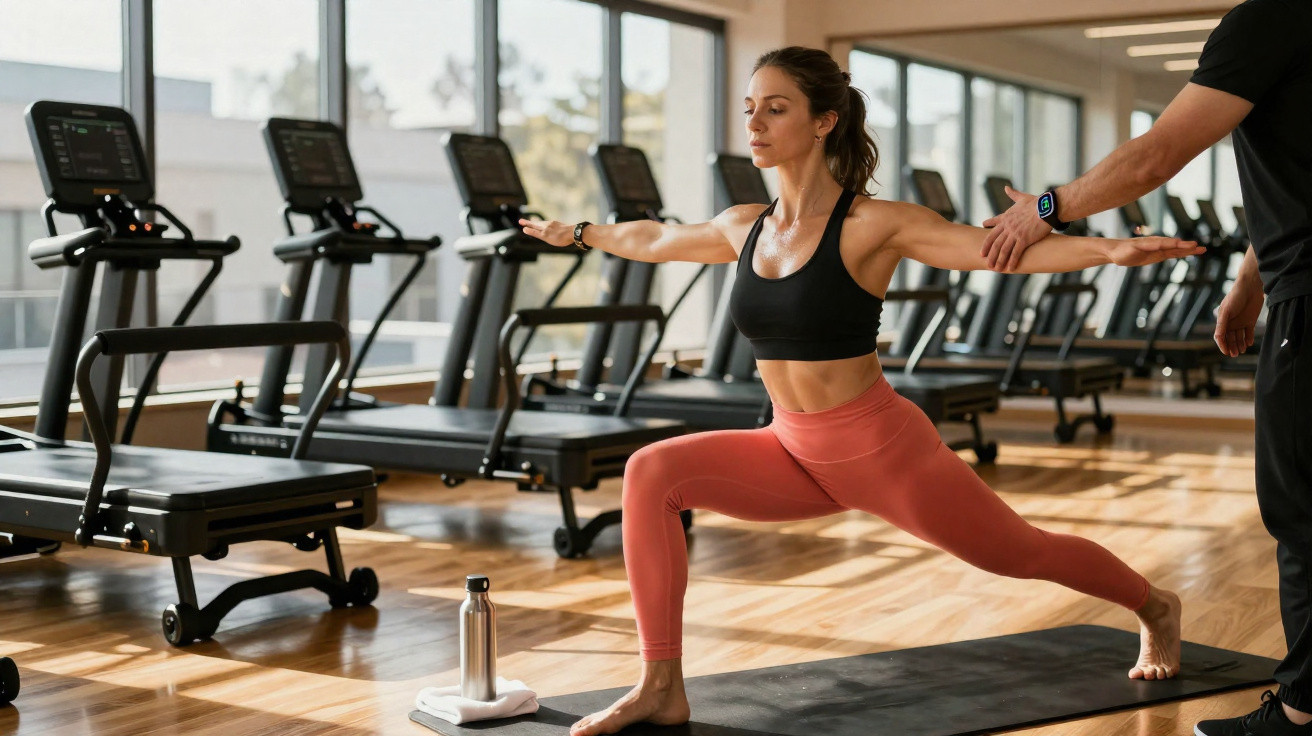
The muscles that stabilise your hips are equally important as those being stretched. Include Bridge pose, Goddess squat and a gentle Warrior II to develop strength in the space you are creating. In Bridge - lying on your back with bent knees and feet hip-width apart, then raising the hips - you activate the glutes that support healthy hip extension. Goddess, performed with a wide stance and turned-out toes as you lower into a half-squat, works the inner thighs and external rotators.
Strength in new ranges of motion is where your newfound mobility actually sticks. Without it, you may sink into deep stretches only to return to stiffness the following day. Rotated through your week, these 14 yoga poses work as a toolkit: some create openness, some provide stability and every one helps teach your hips that moving is safe again.
How to practise yoga so your hips genuinely change
There is one straightforward approach that works much better than an ambitious stretching session once a month: brief, regular sessions that are mildly uncomfortable. Aim for 15–20 minutes, three to five times weekly. Begin lying down with Figure Four, progress to seated Butterfly, then move to the floor for Pigeon and Lizard. End standing with Warrior II and Goddess.
Hold each pose for 5–8 breaths, keeping your face relaxed and your exhale even. If you are gripping your jaw or stopping your breath, you have pushed too far. Reduce the intensity by 10–20%. Your nervous system responds more to your breathing than your determination. When breathing remains smooth, your hips are more likely to release.
A particularly common error is “chasing the edge” - forcing yourself into the deepest variation of a pose you can tolerate. Your body interprets this as a threat rather than therapy. Another mistake is measuring your hips against those of the person beside you, or against an Instagram-ready Pigeon pose. Bone structure, injury history and even the events of your day all influence how a pose looks.
Treat yourself gently on the mat. If sitting cross-legged is difficult, raise your hips using a folded blanket. If Pigeon makes your knee unhappy, use Reclined Figure Four instead. Your ego may demand performance, but your hips respond to patience.
“Mobility isn’t about being bendy,” says one longtime yoga teacher I spoke to. “It’s about having choices. Can you get down onto the floor and back up without thinking about it? Can you sit comfortably on the ground with friends? That’s real freedom.”
- Begin with poses on your back if your hips feel especially restricted.
- Use props, including cushions, blocks and folded towels beneath the knees or hips.
- Keep each pose for a minimum of 30 seconds, concentrating on slow exhales.
- Alternate stretching poses, such as Pigeon and Lizard, with strengthening poses, such as Bridge and Goddess.
- Monitor progress through daily activities: using stairs, standing up and sitting on the floor.
Let your hips change the way you move through the day
Certain changes will be subtle. You may be in a meeting and notice that your back is no longer nagging. You may climb stairs and sense your glutes taking the effort instead of your lower spine. You might cross your legs at a café without shifting three times in search of the “least bad” position. Other improvements can feel more significant: you agree to a hike, dance class or floor play with a child because you have greater trust in your body.
Mobility is rarely dramatic from one day to the next, yet it builds quietly over time. A small group of poses, repeated with reasonable consistency and some curiosity, can transform hips from rusty hinges into joints that feel alive again. You begin to notice how you stand in a queue, sit on the bus and get out of bed. The poses extend beyond the mat and influence the way you occupy your whole life.
| Key point | Detail | Value for the reader |
|---|---|---|
| Focus on tight areas | Poses including Pigeon, Lizard, Butterfly and Figure Four work the hip flexors and deep rotators | Directly tackles stiffness that restricts walking, sitting and squatting |
| Build strength as well | Bridge, Warrior II and Goddess strengthen the glutes and stabilisers around the joint | Helps new flexibility endure while protecting the knees and lower back |
| Practise consistently | Choose short, frequent sessions with steady breathing rather than occasional, intense stretching | Creates meaningful, noticeable improvements in everyday mobility without burnout |
FAQ:
How often should I practise hip-opening yoga poses?
Aim for 3–5 sessions each week, lasting 15–20 minutes each. Your hips respond more effectively to steady, moderate practice than a single extended session every few weeks.Can tight hips genuinely lead to lower-back pain?
Yes. When the hips are restricted, the lower back often compensates by moving more than it should, potentially causing strain, discomfort or recurring pain.Is feeling emotional during hip-openers normal?
Many people experience a wave of emotion in poses such as Pigeon or Butterfly. The hips carry considerable tension, and feelings can arise as that tension releases. This is normal and generally passes after a few breaths.What should I do if hip-opening poses hurt my knees?
Ease off immediately and modify the pose. Cushion your knees, reduce the angle or change to a softer option, such as Reclined Figure Four in place of Pigeon.How soon will I notice a mobility difference?
Some improvement may appear within a week or two, particularly in the way you sit and stand. More substantial changes in range of motion often emerge after 6–8 weeks of consistent practice.
Comments
No comments yet. Be the first to comment!
Leave a Comment